Inserting a needle into the needle bar is an essential skill for any sewing enthusiast. Properly installing the needle ensures smooth stitching and prevents potential damage to your machine or fabric. Follow this simple step-by-step guide to get started:
1. Turn Off the Machine:
- Always turn off the sewing machine to prevent any accidental starts while changing the needle.
2. Raise the Needle:
- Turn the handwheel towards you (counterclockwise) to raise the needle to its highest position.
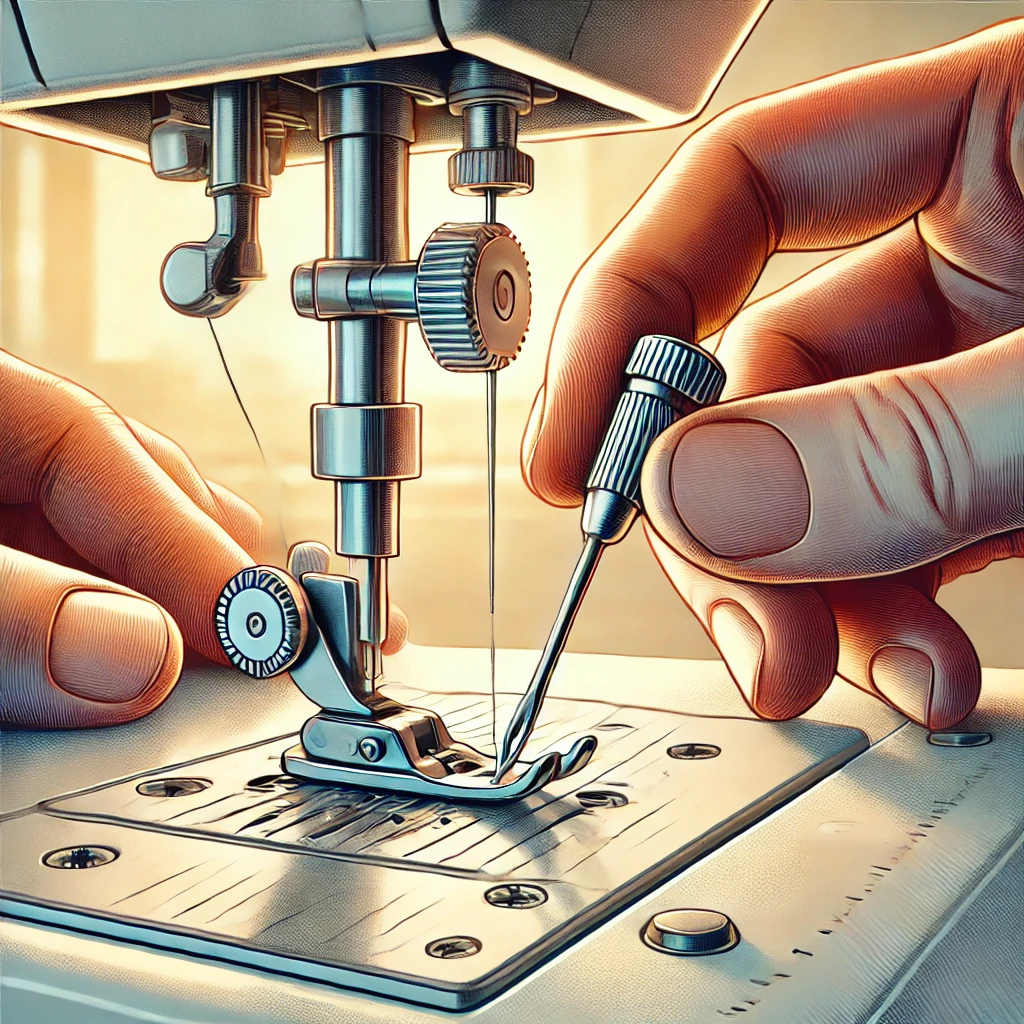
3. Loosen the Needle Clamp Screw:
- Locate the needle clamp screw on the side of the needle bar.
- Use a small screwdriver or your fingers to loosen the screw by turning it counterclockwise.
4. Remove the Old Needle:
- If an old needle is already in place, gently pull it out.
- Dispose of the old needle safely to avoid injuries.
5. Insert the New Needle:
- Hold the new needle with the flat side facing the back of the machine (most needles are designed this way for proper alignment).
- Insert the needle into the needle bar as far up as it will go. Ensure it is seated properly in the needle clamp.
6. Tighten the Needle Clamp Screw:
- Securely tighten the needle clamp screw by turning it clockwise.
- Make sure the needle is firmly held in place.
7. Double-Check:
- Verify that the needle is correctly inserted, with the flat side facing the back (or as per your machine’s instructions).
- Ensure the needle is fully seated in the clamp.
8. Test:
- Slowly turn the handwheel to check that the needle moves up and down smoothly.
- Ensure the needle does not hit any part of the machine.
Final Tips:
- Always use the correct needle type and size for your sewing project and fabric.
- Regularly check your needle for signs of wear or damage, as a bent or dull needle can cause stitching problems.
By mastering this simple yet crucial task, you’ll set yourself up for successful and hassle-free sewing. Happy stitching!


