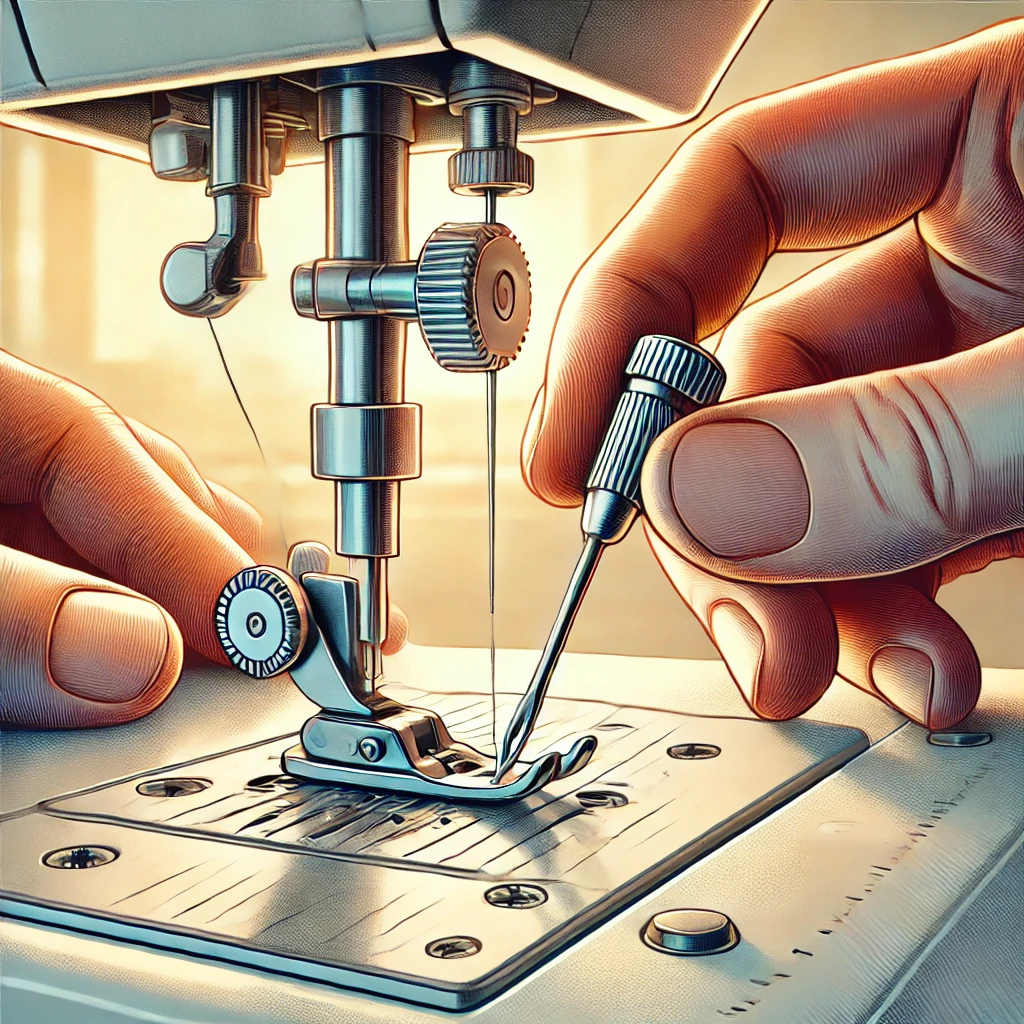
Sewing is a skill that requires practice and patience, especially for beginners. To develop control and precision, it’s important to start with simple exercises that build your confidence. This guide introduces two fundamental sewing exercises—one on paper and another on fabric—designed to help you master the basics of sewing.
Objective
The goal of these exercises is to:
- Gain control over the foot pedal speed.
- Learn to sew along predefined lines.
- Maintain proper safety and handling techniques.
- Build foundational skills for accurate stitching.
Basic Sewing Exercise: Paper Practice
Steps:
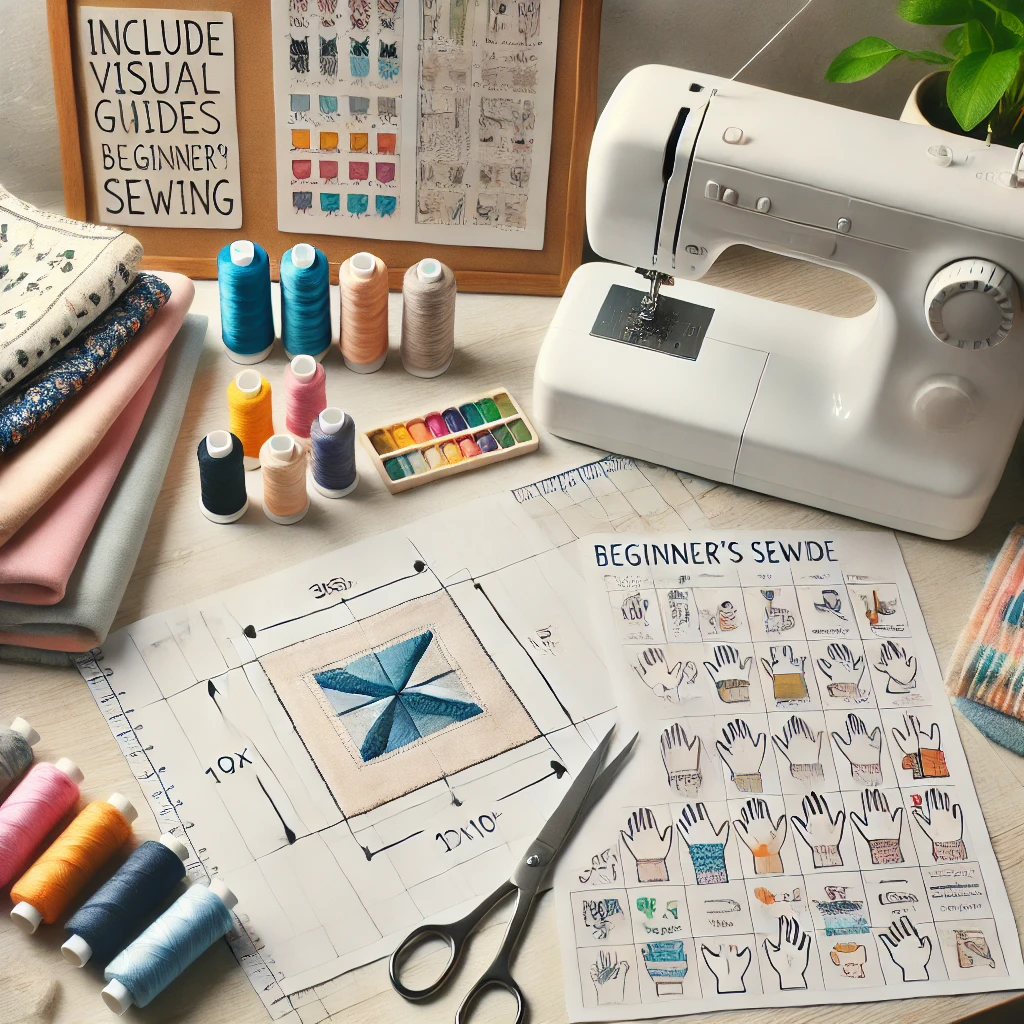
- Prepare Your Workspace: Place a piece of paper under your sewing machine. The paper should have lines or patterns marked for practice. These could be straight lines, curves, or a grid pattern.
- Control the Foot Pedal: The objective is to control the speed of your sewing machine using the foot pedal. Begin at a slow, steady pace and gradually increase speed as you become more comfortable.
- Position Your Hands: Hold the paper lightly with your thumbs underneath. Keep your fingers on top, away from the needle, to guide the paper as it moves.
- Start Sewing: Follow the marking lines on the paper with your stitches. Aim to keep the sewing line as close to the drawing line as possible.
- Stop at the Edges: When you reach the edge of the line, stop sewing. Raise the presser foot and slide the paper to the next column. If you’re at a corner, insert the needle into the paper, rotate the paper, and continue stitching.
- Avoid Tears: Ensure the paper remains intact. The exercise should not cause the paper to tear.
- Evaluate Your Work: Check that your stitches align neatly with the marking lines. This practice helps you build accuracy.
Basic Sewing Exercise: Fabric Practice
Once you’ve mastered sewing on paper, transition to practicing on fabric. This exercise introduces new elements like threading the needle and handling fabric edges.
Steps:
- Prepare Your Materials: Use a 10×10-inch square piece of rough fabric. Mark it with a pattern similar to the one used on paper.
- Thread the Machine:
- Learn how to thread the needle properly.
- Fix the bobbin case securely in place.
- Start Sewing:
- Sew along the marking lines, maintaining the same precision as on paper.
- Ensure the stitching line is parallel to the marked line.
- Lock the Edges: Use the reversible lever on your machine to secure the fabric edges. This prevents fraying and ensures a clean finish.
- Evaluate Your Work: Check for neat, parallel stitches and cleanly locked edges. This practice helps you understand fabric handling and stitch control.
Tips for Success
- Always maintain a consistent speed while sewing.
- Keep your hands steady and avoid applying excessive pressure on the paper or fabric.
- Regularly inspect your machine’s threading to avoid skipped stitches or tangling.
- Take breaks if needed to avoid fatigue.
Safety Guidelines
- Keep your fingers away from the needle at all times.
- Ensure proper lighting around your workspace.
- Double-check that the needle is securely fastened before starting.
Diagram: Sewing Practice Setup
Below is a simple diagram illustrating the setup and workflow for these exercises:
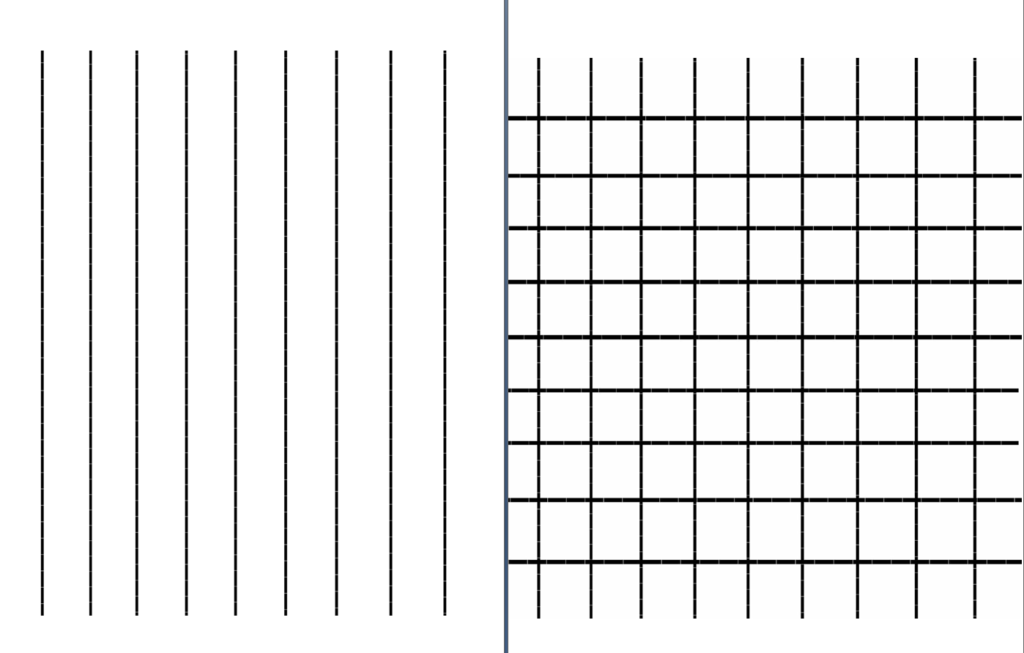
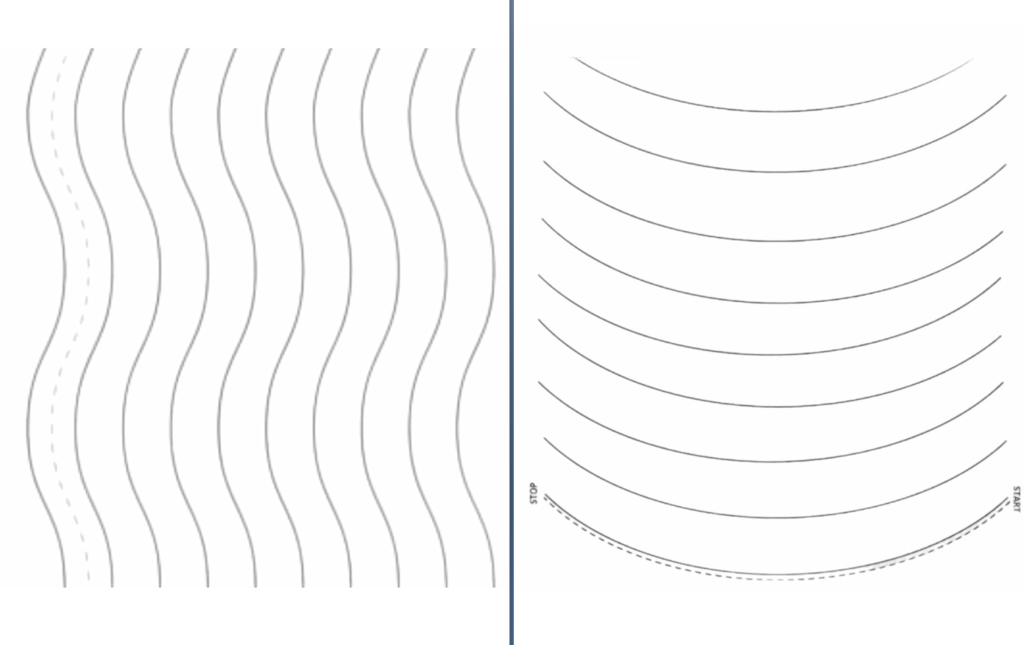
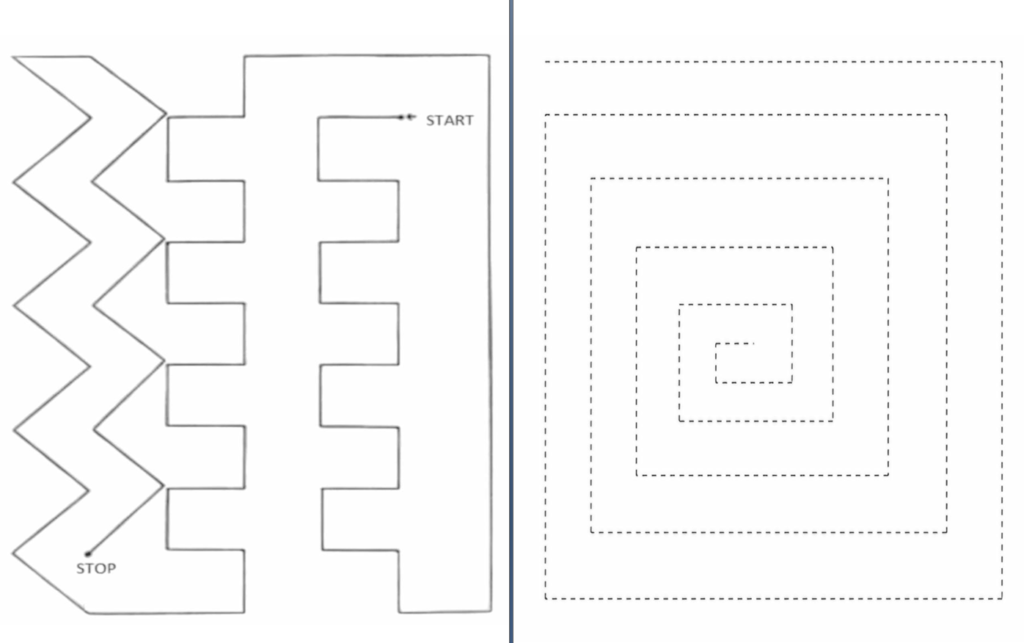
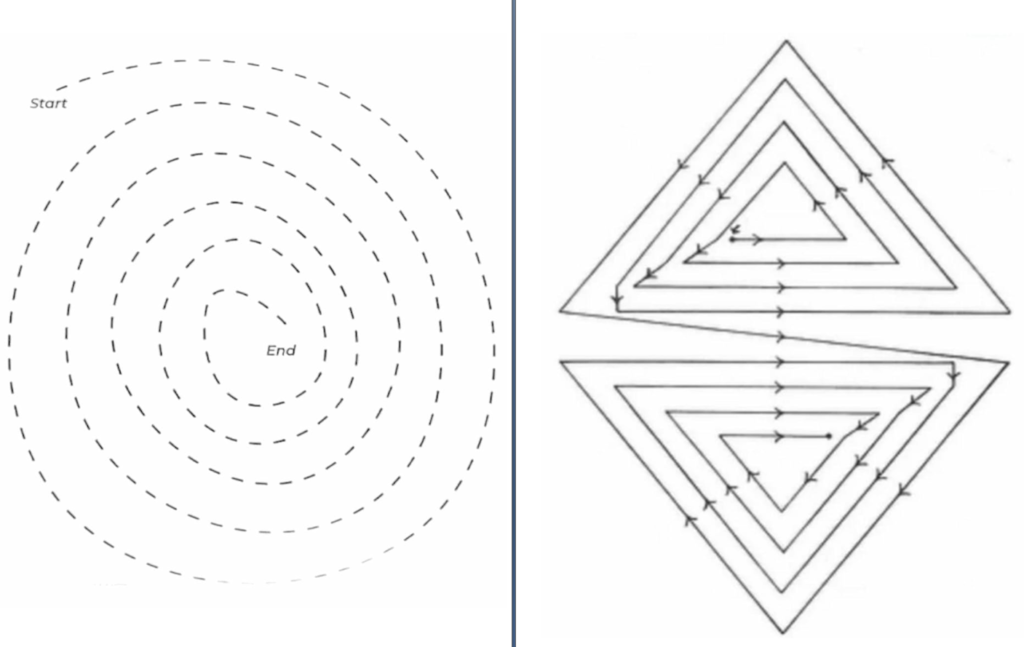
By following these exercises, you will develop the foundational skills necessary for sewing with confidence. Happy stitching!


