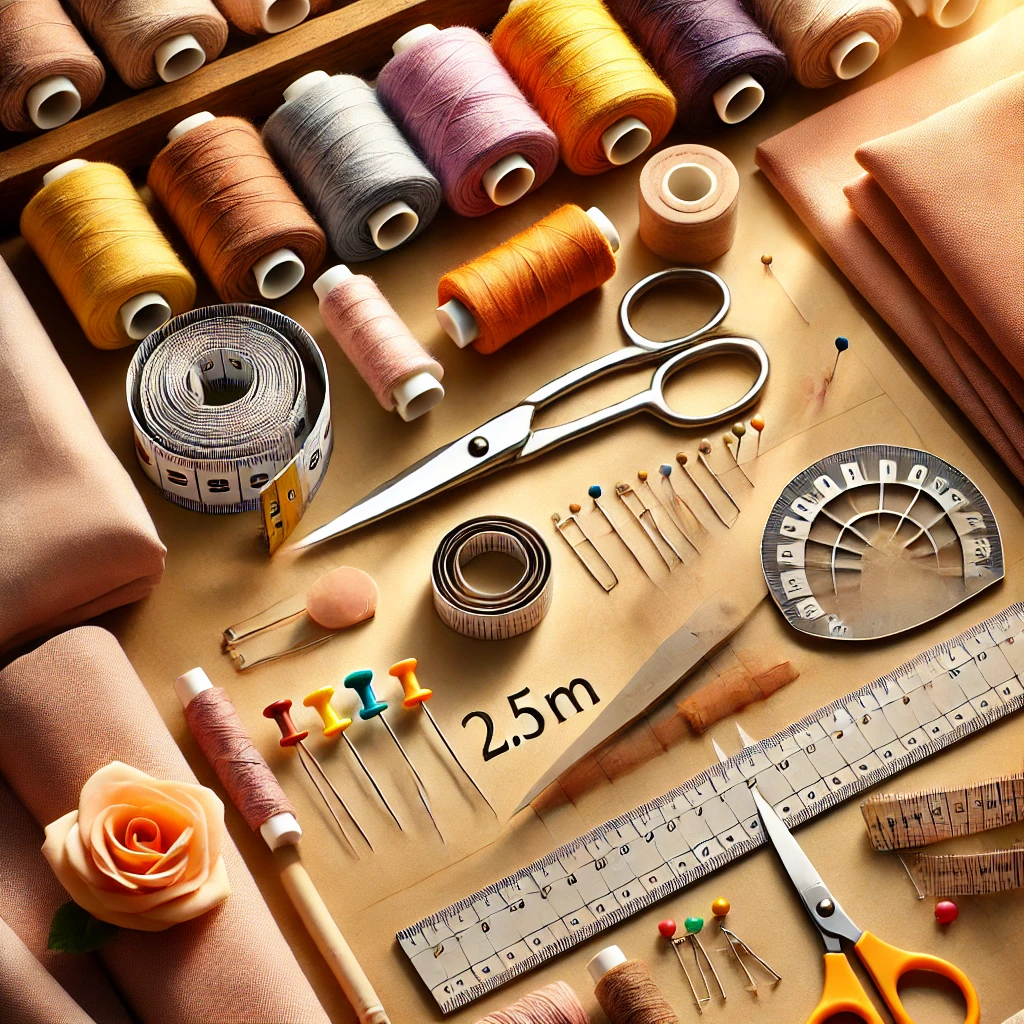
Planning and preparation are key to crafting a perfect kurta. Here’s a list of tools you’ll need, along with their uses:
1. Push Pins
- Purpose: Transfer dart manipulations to fabric with precision.

2. Scissors
- Purpose: Cut paper patterns and fabric smoothly.

3. Pen and Pencil
- Purpose: Use dark pencils like 4B for clear marking and color pens to distinguish details.

4. Brown Sheet
- Purpose: Create reusable patterns to save time for future projects.

5. L-Scale Ruler
- Purpose: Draw long, straight lines for pattern drafting.

6. Plastic Ruler
- Purpose: Ideal for short, straight lines.

7. French Curve
- Purpose: Draft smooth curves for armholes and necklines.

8. Hip Curve Ruler
- Purpose: Shapes hip lines accurately for a perfect fit.

9. Stapler and Remover
- Purpose: Prevent slippage of layered patterns during cutting or tracing.

10. Gum Bottle
- Purpose: Stick brown sheets securely to create stable pattern pieces.

11. Notcher
- Purpose: Marks key points on patterns for easy matching during stitching.

12. Measuring Tape
- Purpose: Ensure accurate body measurements for a precise fit.

13. Tailoring Chalk
- Purpose: Mark seam lines and guidelines on fabric.

14. Fabric (2.5m)
- Purpose: The base material for crafting your kurta.

Additional Tools to Consider
- Seam Ripper: For fixing stitching errors.
- Tracing Wheel and Paper: To transfer pattern lines to fabric.
- Iron and Pressing Board: For neat finishing.
- Thread Snippers: To trim threads efficiently.
Construction Steps
- Draft the pattern on the brown sheet using the rulers and curves.
- Cut the fabric as per the drafted pattern.
- Mark darts, seam allowances, and notches with chalk.
- Sew the kurta, starting with darts and proceeding to assemble the pieces.
- Finish with hemming and pressing for a polished look.
With these tools and steps, you’re set to create a well-fitted, beautiful kurta!


