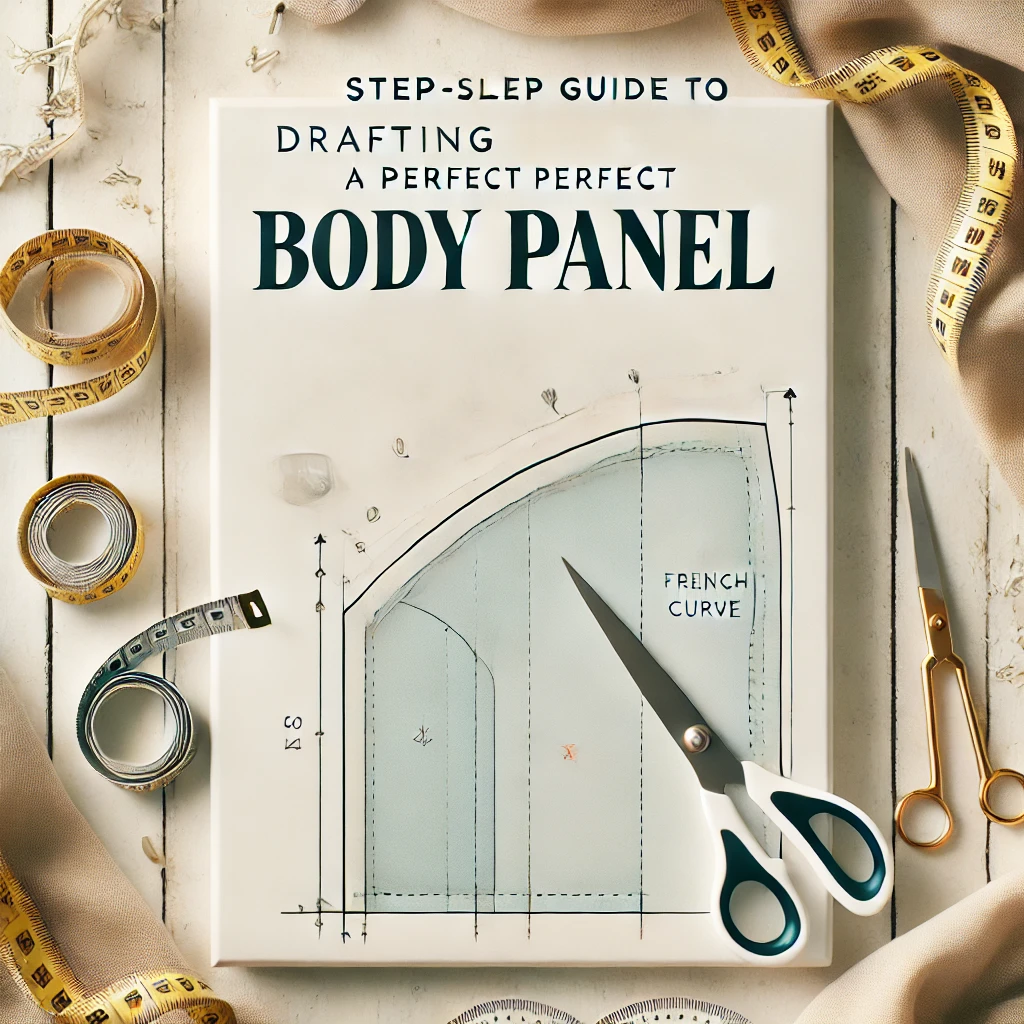
Creating a body panel for your garment can feel like a daunting task, but with the right steps and a little patience, it’s easier than you think! Whether you’re designing a kurta, a dress, or any other fitted outfit, this guide will walk you through the process in a way anyone can understand. Let’s get started!

Step 1: Start with the Basics
First, you need to mark the key points based on your measurements:
- Shoulder Width: Divide the shoulder measurement by 2 and mark it as Point 0-1.
- Bust Point: Measure the distance from the shoulder to the bust and mark it as Point 0-2.
- Waist Length: Mark the length from the shoulder to the waist as Point 0-3.
- Hip Length: Measure the distance from the shoulder to the hips and mark it as Point 0-4.
- Full Length: Finally, mark the total length of the garment as Point 0-5.
Step 2: Set the Neck Width
The neck width depends on the size:
- Small Size: 3 inches
- Medium Size: 3.5 inches
- Large Size: 4 inches
Mark this as Point 0-6.
Step 3: Define the Shoulder Slope
From Point 1, move 1 inch down (this is standard) and mark it as Point 7.
Connect Point 7 to Point 6 to create the shoulder slope.
Step 4: Draw the Armhole
Measure half of the armhole circumference and mark it as Point 7-8.
Step 5: Mark Widths for Chest, Bust, Waist, Hips, and Bottom
- Chest: Divide the chest measurement by 4, add ¾ inch for ease, and mark it as Point 11.
- Bust: Divide the bust measurement by 4, add ¾ inch ease, and mark it as Point 12.
- Waist: Divide the waist measurement by 4, add ¾ inch ease, and mark it as Point 13.
- Hip: Divide the hip measurement by 4, add ¾ inch ease, and mark it as Point 14.
- Bottom: Divide the bottom width by 4, add ¾ inch ease, and mark it as Point 15.
Step 6: Shape the Neckline
- Use a French curve to draw the back neck from Point 6 to the desired depth (Point 6-16).
- For the front neck, draw a smooth curve from Point 6 to the desired depth (Point 6-17).
Step 7: Shape the Armhole and Sides
- Find Point 18 by measuring half the length of Point 7-8.
- Move ¾ inch inward from Point 18 and mark it as Point 19.
- Connect the front and back armholes as illustrated in the image.

- Connect Points 11, 12, and 13 with straight lines.
- Use a hip curve to smoothly connect Points 13 and 14. Ensure there’s a 4-inch difference between the waist and hip measurements for the perfect fit.
- Draw a slightly curved line from Point 14 to Point 15 for a natural shape.
Step 8: Cut and Prepare the Panels
- Fold the fabric and cut the body panel on the fold. This will be your master panel.
- Trace this panel onto another piece of fabric to create the back panel.
- For the front panel, cut the neckline and armhole deeper for the front design.
Step 9: Ready to Stitch!
With both the front and back panels ready, you’re now all set to move on to stitching. This well-shaped body panel ensures your garment will have a perfect fit and look amazing!
Crafting your own body panel not only saves you time and money but also lets you personalize your garments to suit your unique style. Happy sewing! 😊


