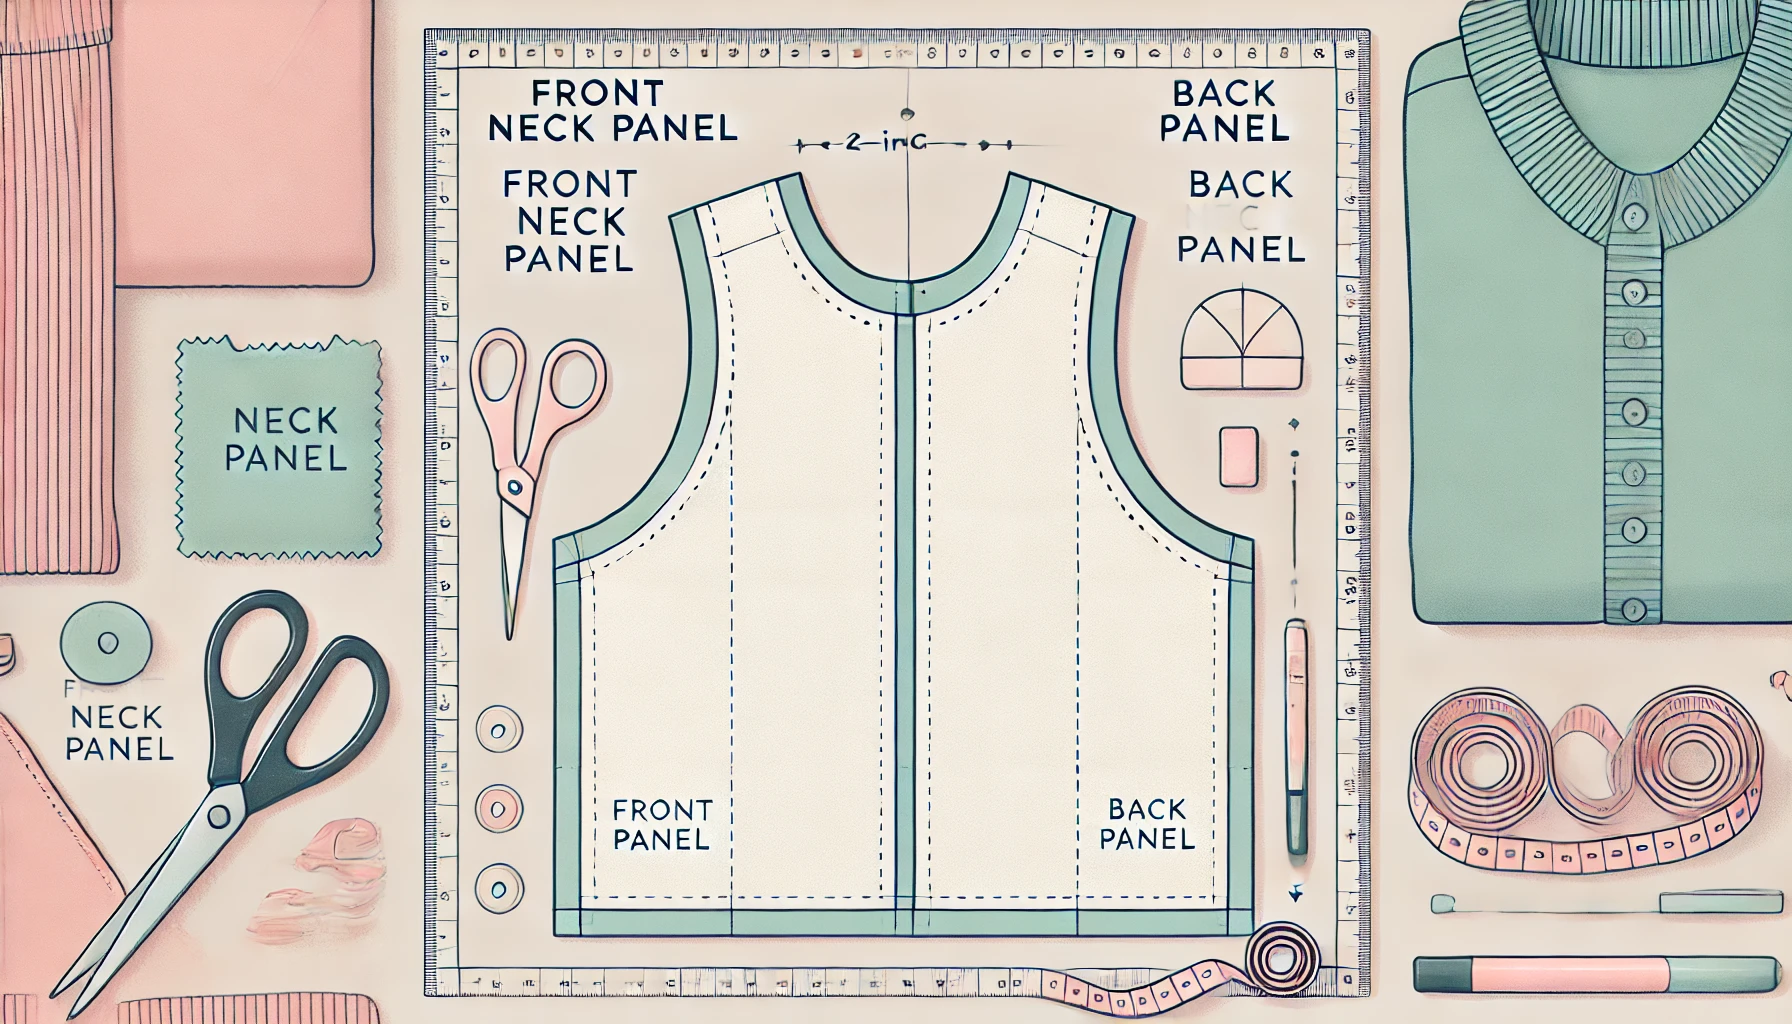
Front Neck Panel
- Trace the Neck and Shoulder Slope
Start by tracing the outline of the front neck and shoulder slope on your fabric. - Mark 2 Inches from the Shoulder Slope
Measure 2 inches down from the shoulder slope and make a small mark. - Mark 2 Inches Below the Neckline
Measure 2 inches below the neckline and mark that point as well. - Connect the Marks
Connect these two marks with a smooth curve to form the shape of the front neck.

Note: Cut the front neck panel on the fabric fold to ensure a symmetrical design.
Back Neck Panel
- Trace the Back Neck and Shoulder Slope
Trace the back neck and shoulder slope on your fabric. - Mark 2 Inches from the Shoulder Slope
Mark 2 inches down from the shoulder slope. - Mark 2 Inches Below the Neckline
Mark 2 inches below the neckline. - Create a Circular Mark
Draw a circular mark about 2 inches from the neckline to define the back neck opening.


